How to Open a Zerodha Demat Account in 2026: Step-by-Step Guide
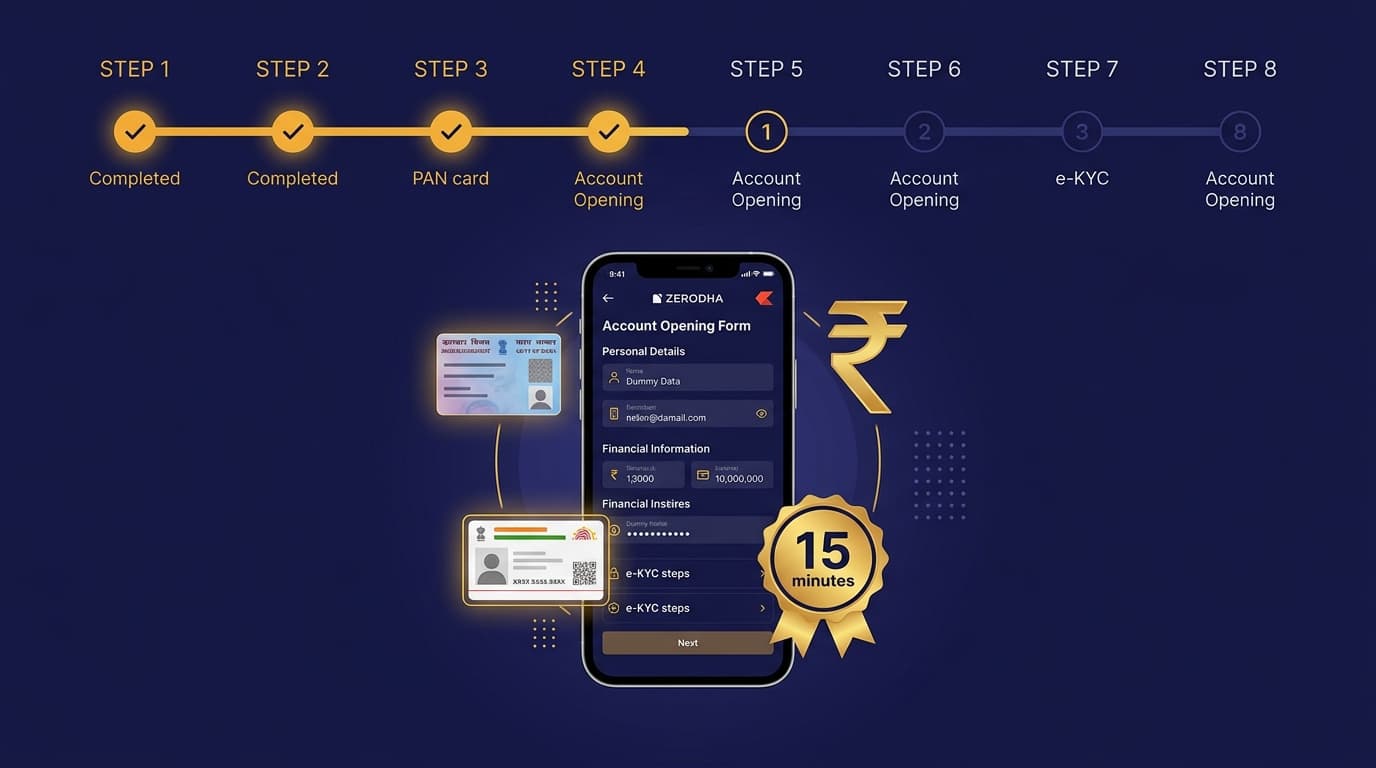
If you've decided to start investing in Indian stocks or mutual funds, Zerodha is the most popular choice — used by over 1.2 crore active traders on NSE. The account opening process is fully online and takes less than 15 minutes if you have your documents ready.
This guide walks you through every step, screen by screen.
What You'll Need Before You Start
Gather these before clicking "Open Account":
| Document | Format | Use |
|---|---|---|
| PAN Card | Soft copy (JPG/PDF) | Mandatory — links to your tax records |
| Aadhaar Card | Linked to mobile number | eKYC verification |
| Bank Account | IFSC + Account number | Fund transfers |
| Cancelled Cheque | JPG/PDF | Bank account proof |
| Signature | White paper, scanned/photo | Digital submission |
| Passport Photo | JPG, clear background | Identity |
Important: Your Aadhaar must be linked to an active mobile number (for OTP). If not, visit your nearest Aadhaar centre or bank first.
Zerodha Account Opening — Full Process (2026)
Step 1: Go to Zerodha's Account Opening Page
Visit zerodha.com → click "Open an account" (top right, orange button).
You'll land on the signup page. Enter your:
- Mobile number (should match Aadhaar)
- Email address
Click "Send OTP" → enter the OTP sent to your phone → click "Continue".
Step 2: Enter Your PAN and Basic Details
On the next screen:
- Enter your 10-digit PAN number exactly as on your card
- Enter your Date of Birth (DD/MM/YYYY format)
- Zerodha fetches your name from the Income Tax database — verify it matches your PAN
Click "Next".
Step 3: Aadhaar eKYC Verification
This is the fastest part:
- Enter your 12-digit Aadhaar number
- Click "Get OTP" — Zerodha sends an OTP to your Aadhaar-linked mobile
- Enter the OTP within 10 minutes
- Your name, address, and photo are auto-fetched from UIDAI
If eKYC fails (Aadhaar not linked to mobile), you'll be redirected to offline KYC — which takes 3–7 days and requires physical documents.
Step 4: Choose Your Account Type
Zerodha offers two account configurations:
| Configuration | Charges | Best For |
|---|---|---|
| Demat + Trading (Equity) | ₹200 one-time | Stock investors |
| Demat + Trading + Commodities | ₹300 one-time | Those also wanting MCX access |
| Zerodha Kite + Coin (MF) | Free | Mutual fund-only investors |
Most people choose the ₹200 Equity option. You can add commodity trading later.
Click "Proceed to Payment".
Step 5: Pay the Account Opening Fee
- ₹200 (Equity) or ₹300 (Equity + Commodity)
- Accepted via: UPI, Net Banking, Debit Card
- No credit cards accepted for this step
After payment, you'll receive a confirmation email with your application number.
Step 6: Upload Documents
You'll be redirected to a document upload portal:
Upload these files:
- PAN card (front)
- Bank proof — cancelled cheque OR bank statement (last 3 months)
- Signature on white paper — photographed clearly
File requirements:
- Format: JPG or PDF
- Size: Under 5 MB each
- PAN must be clearly readable
Tip: Take photos in good lighting. Blurry documents are the #1 cause of rejection and delay.
Step 7: In-Person Verification (IPV) — 60 Seconds
Zerodha requires a live IPV (In-Person Verification) via your phone camera:
- Allow camera access on your phone/browser
- Hold your PAN card clearly in front of the camera
- A Zerodha representative joins briefly via video or it's automated via DigiLocker
- This step confirms you are the actual applicant
This takes under 2 minutes on a smartphone with a good camera.
Step 8: E-Sign with Aadhaar OTP
The final step — digitally sign your account opening form:
- Click "Proceed to eSign"
- You're redirected to the NSDL eSign portal
- Enter your Aadhaar number
- Enter the OTP sent to your Aadhaar-linked mobile
- Your application is digitally signed and submitted
You'll see a "Application Submitted Successfully" screen with your reference number.
How Long Does Activation Take?
Enjoyed this post?
Get our weekly digest delivered free.
| Scenario | Activation Time |
|---|---|
| eKYC (Aadhaar OTP) successful, documents clear | 24–48 hours (often same day) |
| Minor document issue → resubmission required | 3–5 business days |
| Offline KYC (Aadhaar not linked to mobile) | 5–10 business days |
| KYC completed on a weekend or holiday | Next business day |
You'll receive:
- Email + SMS with your Client ID (format:
AB1234) - Login credentials for Kite (trading platform)
- Separate SMS for Zerodha Console (portfolio dashboard)
After Activation — First-Time Setup
Login to Zerodha Kite
- Go to kite.zerodha.com or download the Kite app (Android/iOS)
- Username: your Client ID (e.g.,
AB1234) - Password: set during account opening, or reset via email
Set Your 6-Digit MPIN
On first login, you'll be asked to set a 6-digit MPIN for the app. This is separate from your web password.
Add Funds to Your Account
- Kite → "Add Funds" → enter amount → pay via UPI/Net Banking
- Minimum: ₹1 (no minimum balance requirement)
- Funds reflect instantly for UPI (up to ₹1 lakh), or by next day for net banking
Link Your Bank (Mandate for SIP)
If you plan to invest in mutual funds via Zerodha Coin, set up an e-mandate via Coin → Settings → Bank Mandate. Required for SIP auto-debit.
Zerodha Charges — What You'll Actually Pay
Account Opening (One-Time)
| Charge | Amount |
|---|---|
| Demat + Trading account | ₹200 |
| With Commodity segment | ₹300 |
| Demat account Annual Maintenance | ₹300/year (waived first year) |
Trading Charges (Per Transaction)
| Segment | Brokerage |
|---|---|
| Equity Delivery (stocks held overnight) | ₹0 (Free) |
| Equity Intraday | ₹20 or 0.03% (whichever is lower) |
| Futures & Options | ₹20 per order |
| Currency & Commodity | ₹20 per order |
| Mutual Funds via Coin | ₹0 (Free) |
The key advantage: Long-term investors pay ₹0 brokerage on delivery trades. Zerodha earns only when you do intraday or F&O.
Common Problems & Fixes
"eKYC failed — Aadhaar not linked to mobile"
→ Link Aadhaar to mobile at your bank branch or nearest Aadhaar Seva Kendra. Takes 1–3 days.
"PAN verification failed"
→ Check: PAN entered correctly? Name matches exactly? If PAN is new (< 30 days old), wait 24 hours for IT database to update.
"Document rejected — image not clear"
→ Re-upload. Use daylight, avoid shadows. For PAN, ensure all 4 edges are visible.
"IPV failed"
→ Ensure good lighting and a steady hand. The camera needs to clearly read your PAN card text.
"Account activated but I can't log in"
→ Check your email for the welcome email — it contains your login link. Reset password if needed.
Zerodha vs Alternatives — Should You Choose Zerodha?
| Broker | Opening Fee | Delivery Brokerage | App Quality | Best For |
|---|---|---|---|---|
| Zerodha | ₹200 | ₹0 | ⭐⭐⭐⭐⭐ | Serious traders + long-term investors |
| Groww | ₹0 | ₹0 | ⭐⭐⭐⭐ | Beginners, mutual fund investors |
| Angel One | ₹0 | ₹0 | ⭐⭐⭐⭐ | Beginners + F&O traders |
| Upstox | ₹0 | ₹0 | ⭐⭐⭐ | Cost-conscious traders |
Choose Zerodha if:
- You plan to trade actively (best platform: Kite)
- You want the most reliable execution and charting tools
- You'll use Zerodha Coin for direct mutual fund investment
Choose Groww or Angel One if:
- You're a complete beginner
- You don't want to pay the ₹200 opening fee
- Mutual funds are your primary focus
Final Checklist — Before You Start Trading
✅ PAN card uploaded and verified
✅ Aadhaar eKYC complete
✅ Bank account linked (cancelled cheque uploaded)
✅ IPV (In-Person Verification) done
✅ eSigned via Aadhaar OTP
✅ Account activated (Client ID received)
✅ Kite app downloaded and logged in
✅ First funds added via UPI
Once all boxes are checked — you're ready to place your first trade on the NSE or BSE.
Open Your Zerodha Account
Ready to start? The process takes 10–15 minutes.
Open Zerodha Account — ₹200 One-Time →
Disclaimer: This is an affiliate link. If you open an account through this link, RupeeIQ may earn a referral commission at no extra cost to you. All information above is accurate as of September 2026.
The insights, broker reviews, tax estimates, and financial data presented on RupeeIQ are strictly for educational and research purposes only. RupeeIQ and its authors are not SEBI-registered investment advisors or research analysts. Nothing published herein should be construed as personalized investment advice or a recommendation to buy or sell securities. Investments in the securities market are subject to market risks. Please conduct your own due diligence or consult a SEBI-registered financial planner before making investment decisions. Read our Editorial Policy.
Enjoyed this post?
Get our weekly digest delivered free.
Share this post:
RupeeIQ is reader-supported. We may earn a commission from links in this article at no extra cost to you. Read our disclosure.